# New view
Used to generate custom views so that the orientation of the 3D annotations can be different from the base view.
The steps are as follows:
- Click on the New view command
 and the New View dialog box will pop up. Create a new view in the same way as the datum.

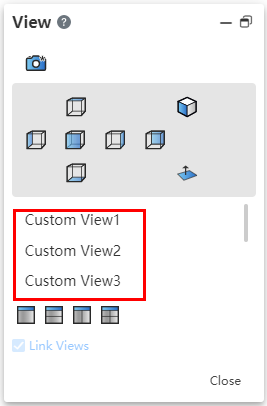
- The new view is placed in the View panel - Custom View, named "View 1.2.3..." by default.
- Right-click a newly created custom view in the view panel and you can "activate, direct only, rename, delete, show/hide associated PMI".
- When deleting, if the existing 3D annotation is based on the current view to be deleted, it will prompt you whether to select "Delete associated PMI at the same time".
- The newly created views appear in the "View" command in the middle of the viewport, and are listed in order (the ICONS are similar to cameras).
Note:The newly created view is only used to define the annotation direction, and cannot be used as a reference level.