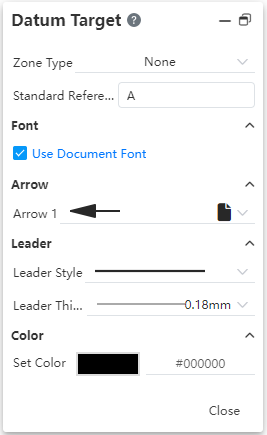
# Datum Target
Create datum goals. The annotations created by this command are placed in View Panel - Datum.
Main functions and operation mode:
- Click the datum target
, pop up the dialog box.

- Area type: Optional "None, Circle, Rectangle";
- None: The Area Diameter setting item is not displayed. The area is blank in the upper semicircle.
- Circle: Displays the Area Diameter setting item. The generated effect is to automatically add a diameter symbol and a region diameter value to the upper semicircle.
- Rectangle: Displays two Settings of "area length, area width". The generated effect is the value in the upper semicircle that displays "Area Length X area width".
When selecting a position in the viewport, select the element as "datum".
Make sure that the operation mode of the target position of the datum is the same as "datum";
Click the completed 3D mark, 3D mark is highlighted, hold down and drag to change the position. Double-click the 3D mark or right click to edit the 3D mark, the corresponding dialog box pops up, you can edit again.
