# Projection View
A projection view produces views through the eight projection directions of an existing view.
GB drawings are projected by default from the first view Angle. Steps to create a projection view:
Click Project view
 to pick the drawing view you want to project in the current viewport.
Preview the effect by moving the mouse to the side in the direction you want to project.
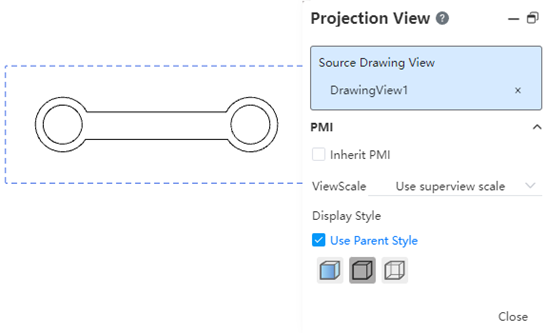
The view scale and display style can be set in the Projection View dialog box.
Click the mouse to place the view when it is in the desired position.
If the view is still in the projection view state after placement, you can still select a view in another direction for projection.
The generated projection view can be dragged to modify the position. The horizontal and vertical projection view can maintain the horizontal/vertical constraint with the parent view position, and the oblique projection view can modify the position at will.
Support to switch the "first view, third view" projection type to meet the requirements of different standards.
Modify the default viewing Angle mode:
1) Open "System Settings - System Options - Display".
2) Select "First Angle, Third Angle" from the projection type.
3) Changing the default view Angle does not affect the generated drawings, only subsequent drawings.
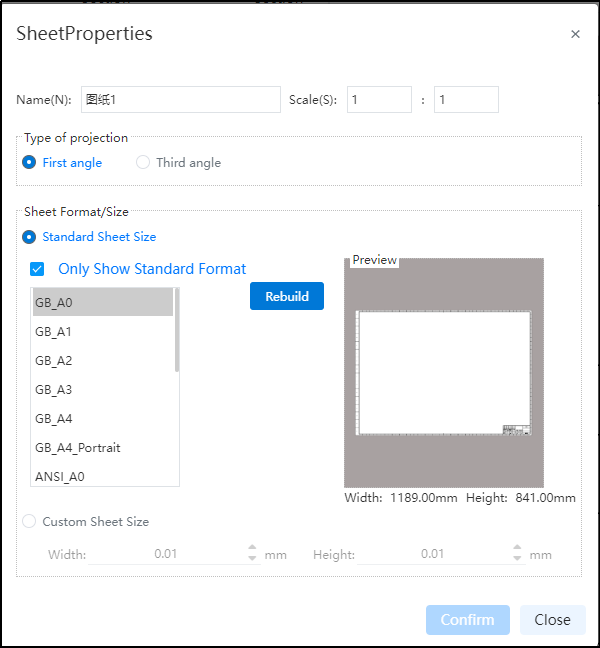
How to modify the perspective of individual drawings:
1) Right-click the drawing - Properties in the View panel.
2) Select "First View, Third View" in the projection type.
3) When you switch the projection type, the generated subview will reverse, keeping it matching the projection type.
Note: When you delete a model view, the subview of its projection view type will be saved, but features such as scaling with the parent view can no longer be used.