# Model Items
The model project feature supports inserting annotations corresponding to weld features from 3D model files into engineering drawings.
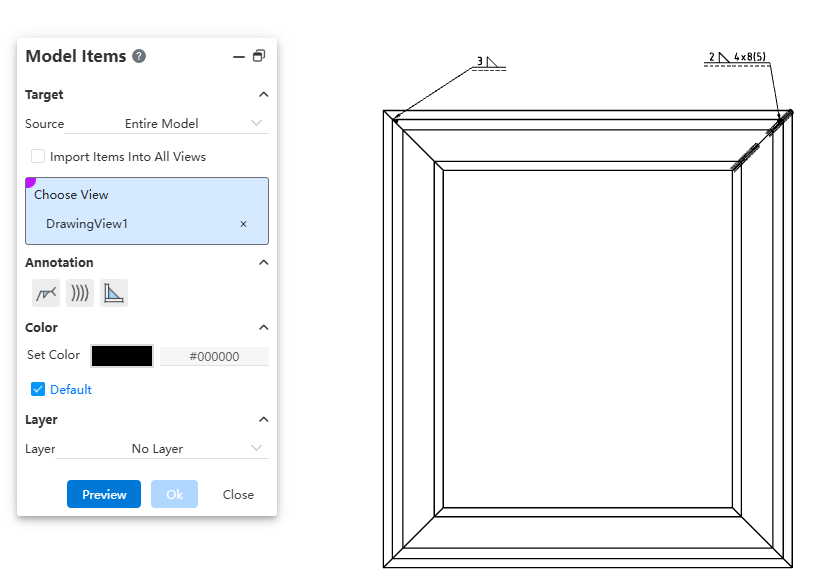
Dialog Box Control Instructions:
Source: Controls the source of the project. Options include "Selected Features," "Entire Model," "Selected Components," or "Assembly Only."
Insert Project into All Views: Controls whether the project is inserted into all views on the drawing. When selected, you can insert the model project into all views without manually selecting target views.
Target View: Controls which view the model project is inserted into. The project will be inserted into the selected view.
Annotation Type: Controls the type of annotation to be inserted. By default, none are selected.
Color/Layer: Sets the color and layer for the inserted project.
How to use:
Activate the Model Project command.
Set the target for the project: choose the source and the target view where the project will be inserted.
Select the annotation types to insert, including welding symbols, worms (caterpillar), and end treatments.
Set the layer and color for the inserted project.
Click Preview to display the insertion effect of the configured model project.
Click OK to complete the insertion of the model project.
Note:
After viewing the preview, any changes to settings will cause the preview to disappear. You must manually click the Preview button again to recalculate and display the updated preview.