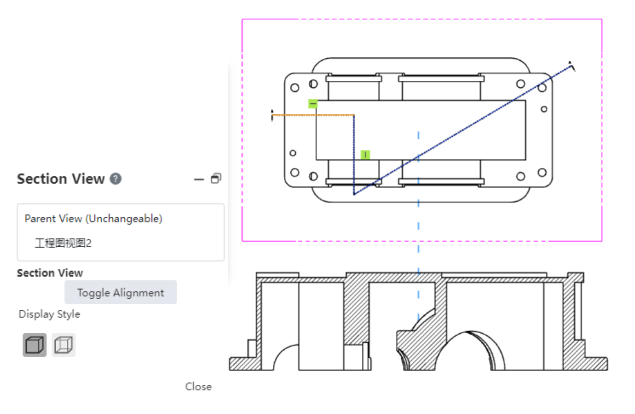
# Section View
# Section View/Isometric section
Generation steps:
Click on the Section View
 command and select the normal section.
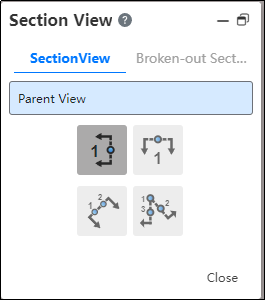
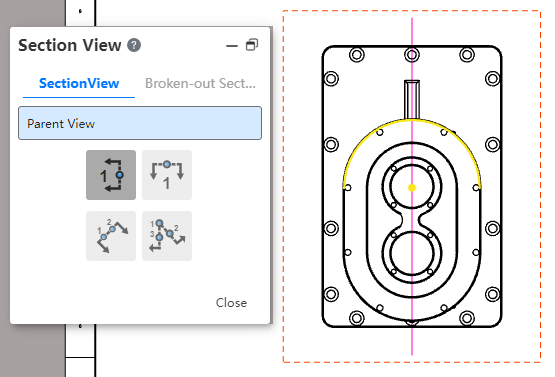
Select the section direction "horizontal, vertical, Angle or align".
Click on the view you want to generate a section view to generate a section line: Click once in the horizontal and vertical directions to generate a horizontal or vertical section line at the click location; The angular direction needs to be clicked twice, and the two points are connected to generate the split line; Alignment requires clicking 3 points to generate a profile, where the first point is the turning point of the profile.
If you want to add a single offset to the split line, click
 , then specify two points on the view to generate a single offset.
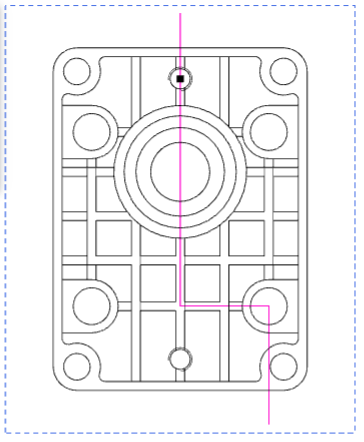
If you want to add a notch offset to the cut line, click
 , then specify three points on the view to generate a notch offset.
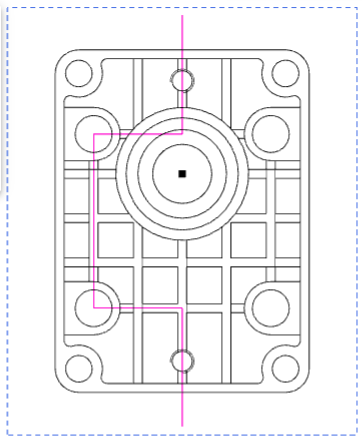
If you want to add an arc offset to the split line, click
 , then specify two points on the view to generate an arc offset.
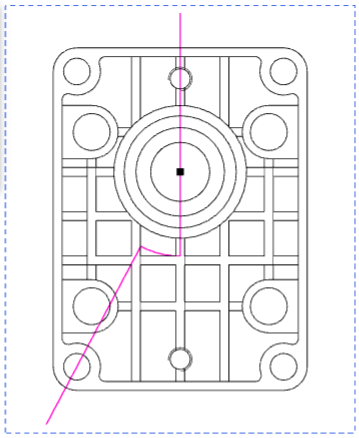
Multiple offsets can be added to a single cut line.
Click
 to finish the split line creation.
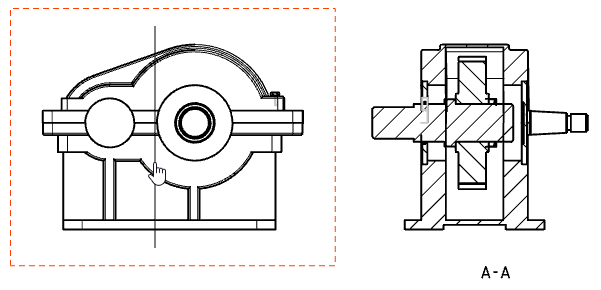
Move the mouse over the viewport and a preview of the section view appears.
Move to the position where you want to place the section view and click to generate the section view.
Hide the shoulder of the: Split line: After adding an offset on the split line, use this option to control whether the line at the offset of the split line is displayed on the split view.

# Broken-out Section View
Generation steps:
Click the Section View
command and select the half profile.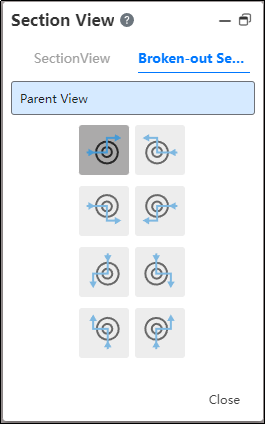
Select the direction of the half profile.
Click on the view that you want to generate the section view to generate the split line, and click on the location where the section line turns.
Move the mouse over the viewport to bring up the Sectioned view preview.
Move to the position where you want to place the section view and click to generate the section view.
Note 1: Model view, projection view, auxiliary view, and section view are supported as the parent view of the section view.
Note 2: Pick points are supported when creating a section view, which is convenient to accurately generate the section view at the desired position.
Note 3: When you specify a cut line in a normal section view, place the mouse over the circle edge and the cut line will automatically pass through the center of the circle.
# Drag to modify the cut lines
To use:
Create any section view.
Hold the left mouse button on the cutaway view's parent view and drag along the normal of the cutaway view.
Release the mouse, end the drag, and update the Secant view.
Support to drag the parent view at both ends of the section line label, modify the position.

- The default position of the sectioned view label is adjusted to the top of the view.

# Create a section view by drawing a sketch
How to use:
1) Double-click the view to focus.
2) Draw a sketch in the view as the cutting line.
3) Select the drawn sketch.
4) Activate the section view command.
5) If the sketch consists of multiple lines, you can click to switch alignment and change the cutting direction.
6) Click on the blank area of the drawing sheet to place the section view.
# Region Hatch Fill
It supports picking sketch boundaries to fill hatching, and the range of model faces that can be filled has been expanded to include non-planar model faces.
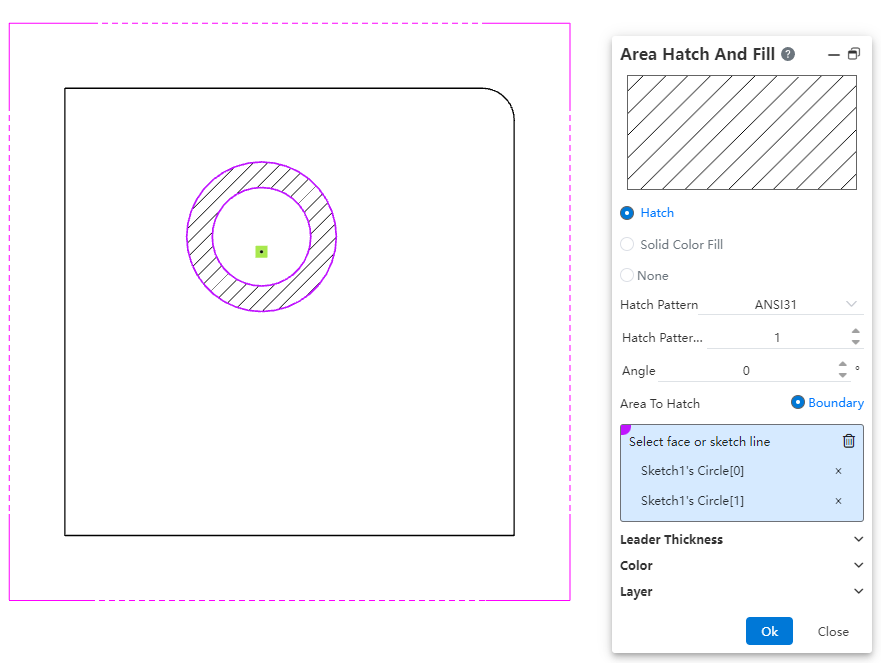
How to use:
1) Open the region hatch command.
2) Select a single closed sketch boundary or a non-planar model face projection area.
3) Click OK to fill the region hatch within the closed sketch profile or selected model face area.