# Partial Ellipse
# Drawing Steps
1.Click to open the Ellipse command.
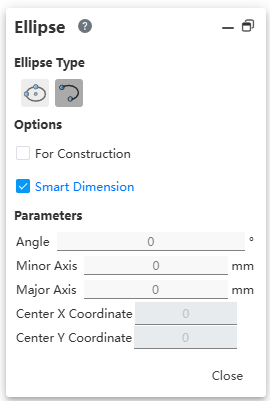
(1)Option:
For Construction: Draws an ellipse arc of the construction type.
Smart Dimension: Automatically adds major axis radius and minor axis radius dimensions for ellipses and ellipse arcs during drawing.
(2)Parameters: Angle, radius, center coordinates.
2.Type SelectElliptic arc.
(1)Click the first point in the viewport and the dialog box appears as follows.

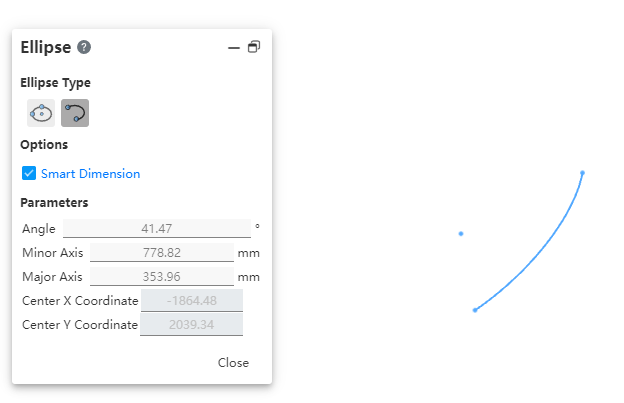
(2)Click on the second point in the viewport (i.e., the long axis endpoint by default), at which point the short axis radius changes with the mouse.
(3)Click the third point in the viewport (that is, the short axis end), the default position is the short axis radius, and use this point as the starting point of the elliptic arc.
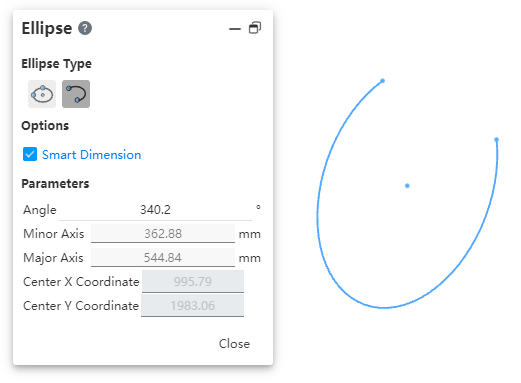
(4)Click the left button again, as the end point of the elliptic arc, complete the elliptic arc drawing, the dialog box displays the custom Angle.
(5)After entering the Angle, click the left mouse button or click directly without entering the Angle to enter the elliptic arc size and center coordinate value input state;

(6)Enter the radius of the long axis, the radius of the short axis and the coordinate value of the center of the ellipse, and automatically add the radius dimension label;

(7)By ESC key, or right-click in the menu 'exit center circle', or command bar"close" to end the command.
# Edit Partial Ellipse
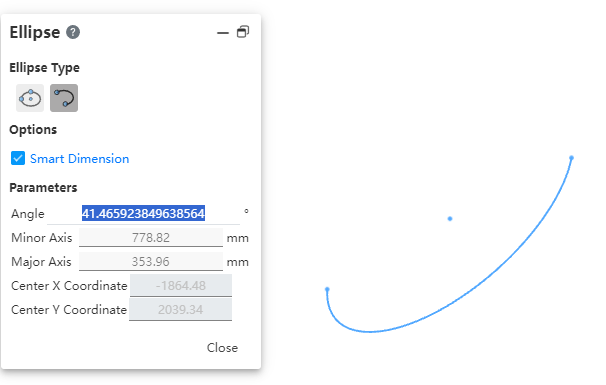
1.You can edit the Angle size (synchronous display in the viewport, the same display style when created), if the radius 1 and radius 2 have added size constraints, you can not edit through the dialog box when editing, only the viewport edit size;
2.If the radius 1 and radius 2 size constraints are not added, the radius and Angle can be edited.
← Ellipse Insert Image →