# Control Point Surface
Using the Control Point Surface command, you can freely modify the shape of the surface by adjusting the control point of the surface.
How to use:
1) Open the "Control Point Surface" command.
2) Select the physical surface of the shape you want to modify as the "control element".
3) Modify the number of times, span number, to adjust the number of control points on the face.
4) Select the control points or control lines to adjust as needed.
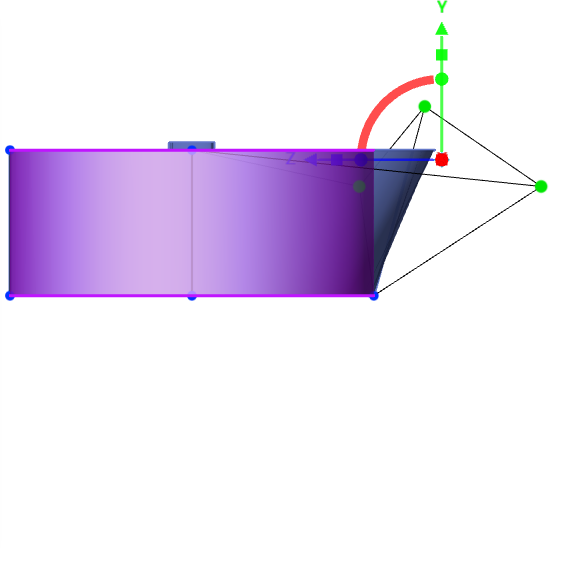
5) Drag the triple axis to change the position of the control point/line to distort the surface.
6) Continue to pick up other elements and drag the triple axis to adjust the surface.
7) Click OK to finish the creation.
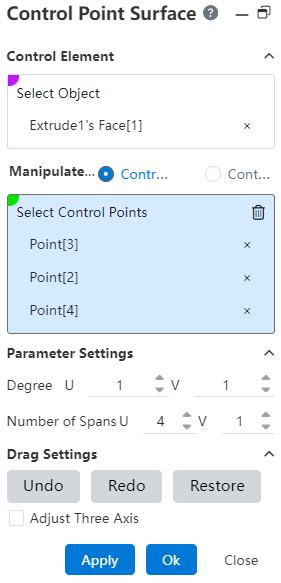
Dialog box control description:
Control Elements - Select Object: Select the surface you want to adjust.
Control Object: Select the control point or control line on the surface you want to adjust.
Select Control point/line: Select the control point/line you want to adjust.
Parameter Settings: Used to display and modify the number of times and spans of the face in the UV direction.
Undo: Click to undo the drag and drop of the triple axis in the previous step.
Redo: Click Cancel to undo the drag and drop action on the previous triple axis.
Full Restore: Click to resume all drag-and-drop operations on the triple axis in this command
Adjust Triple Axis: Check this to drag and drop the triple axis to adjust the position of the triple axis without affecting the control point/line.
Triple axis instructions::
Drag the triangle symbol on the axis to translate the control point in the direction of the corresponding axis.
Drag the square symbol on the axis to scale the control point in the direction of the corresponding axis.
Drag the spherical symbol on the axis to rotate the control point around the corresponding axis.
Click the square symbol on the axis and drag the square at the origin of the triple axis while scaling the control point in 3 directions.