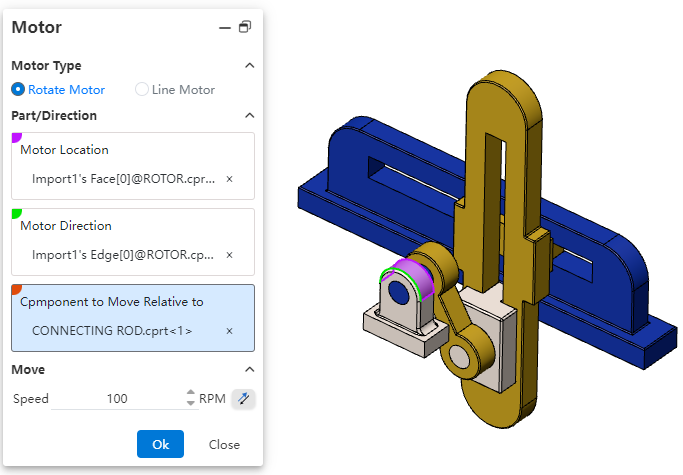
# Motor
Support adding motors to drive components to move linearly or rotate.
How to use:
Open the Motion analysis and select the Motor
 command.
Choose the motor type according to your requirements.
Select the position where the motor will be added.
Choose the reference direction for motor rotation.
Select the component(s) that will move relatively during motor rotation.
Select the component(s) that will move relatively during motor rotation.
Click on the Motion Study Properties in the upper-right corner, select the solver, and then click Calculate in the upper-left corner.
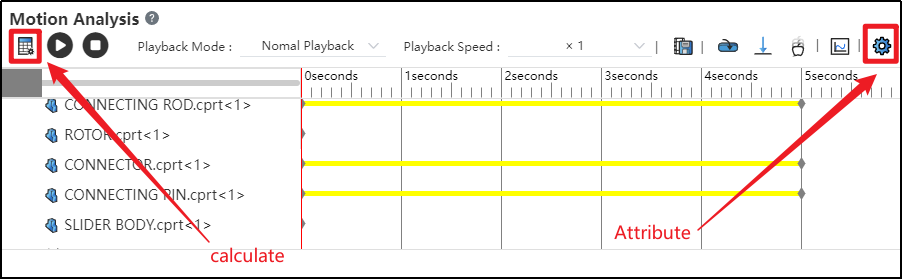
After successful calculation, click "Play"
 to view the motion process.
Click the "Save" button at the bottom-right corner to save the motion study results.
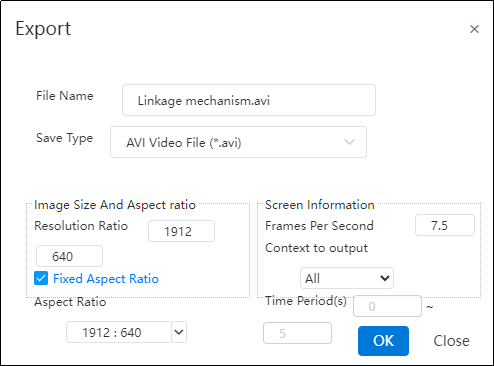
Click "Export"
 to export video files in different formats as needed.
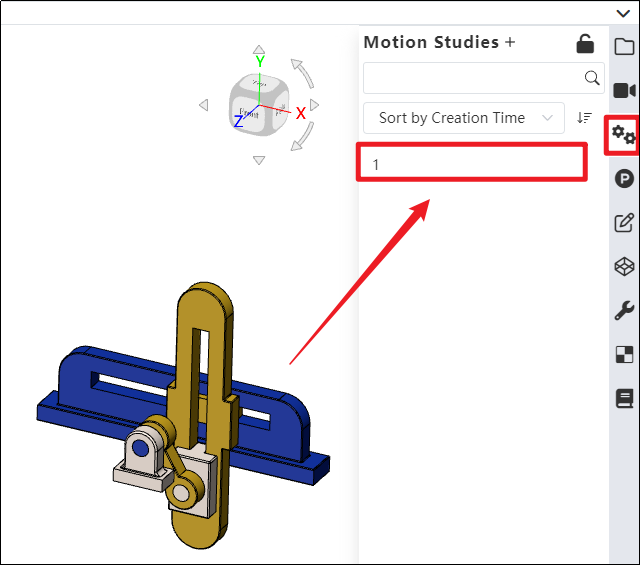
- Click on the Motion analysis list in the right sidebar to find the saved motion study.
Note: Currently, only constant-speed rotation or linear movement is supported. In future versions, variable speed, intermittent motion, and other motion types will be supported, which can be defined using functions and other methods.
Dialog Box Control Instructions:
Motor Type: Currently supports rotary motors and linear motors, with rotary motor as the default. Path motors will be supported in future versions.
Motor Position: The driven component that rotates or moves under the influence of the motor.
Motor Direction: The reference direction for motor motion. Users can choose clockwise or counterclockwise rotation as needed.
Motor Direction: The reference direction for motor motion. Users can choose clockwise or counterclockwise rotation as needed.
Speed: Set the motor's motion speed. Default speed is 100 RPM for rotary motors and 10 mm/s for linear motors. Input range: [0, 1e5].
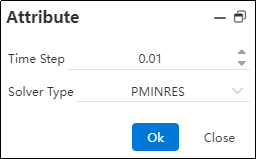
Time Step: The time interval for each calculation cycle used by the solver.
Solver Type: Different solvers with various computational methods and kernels.